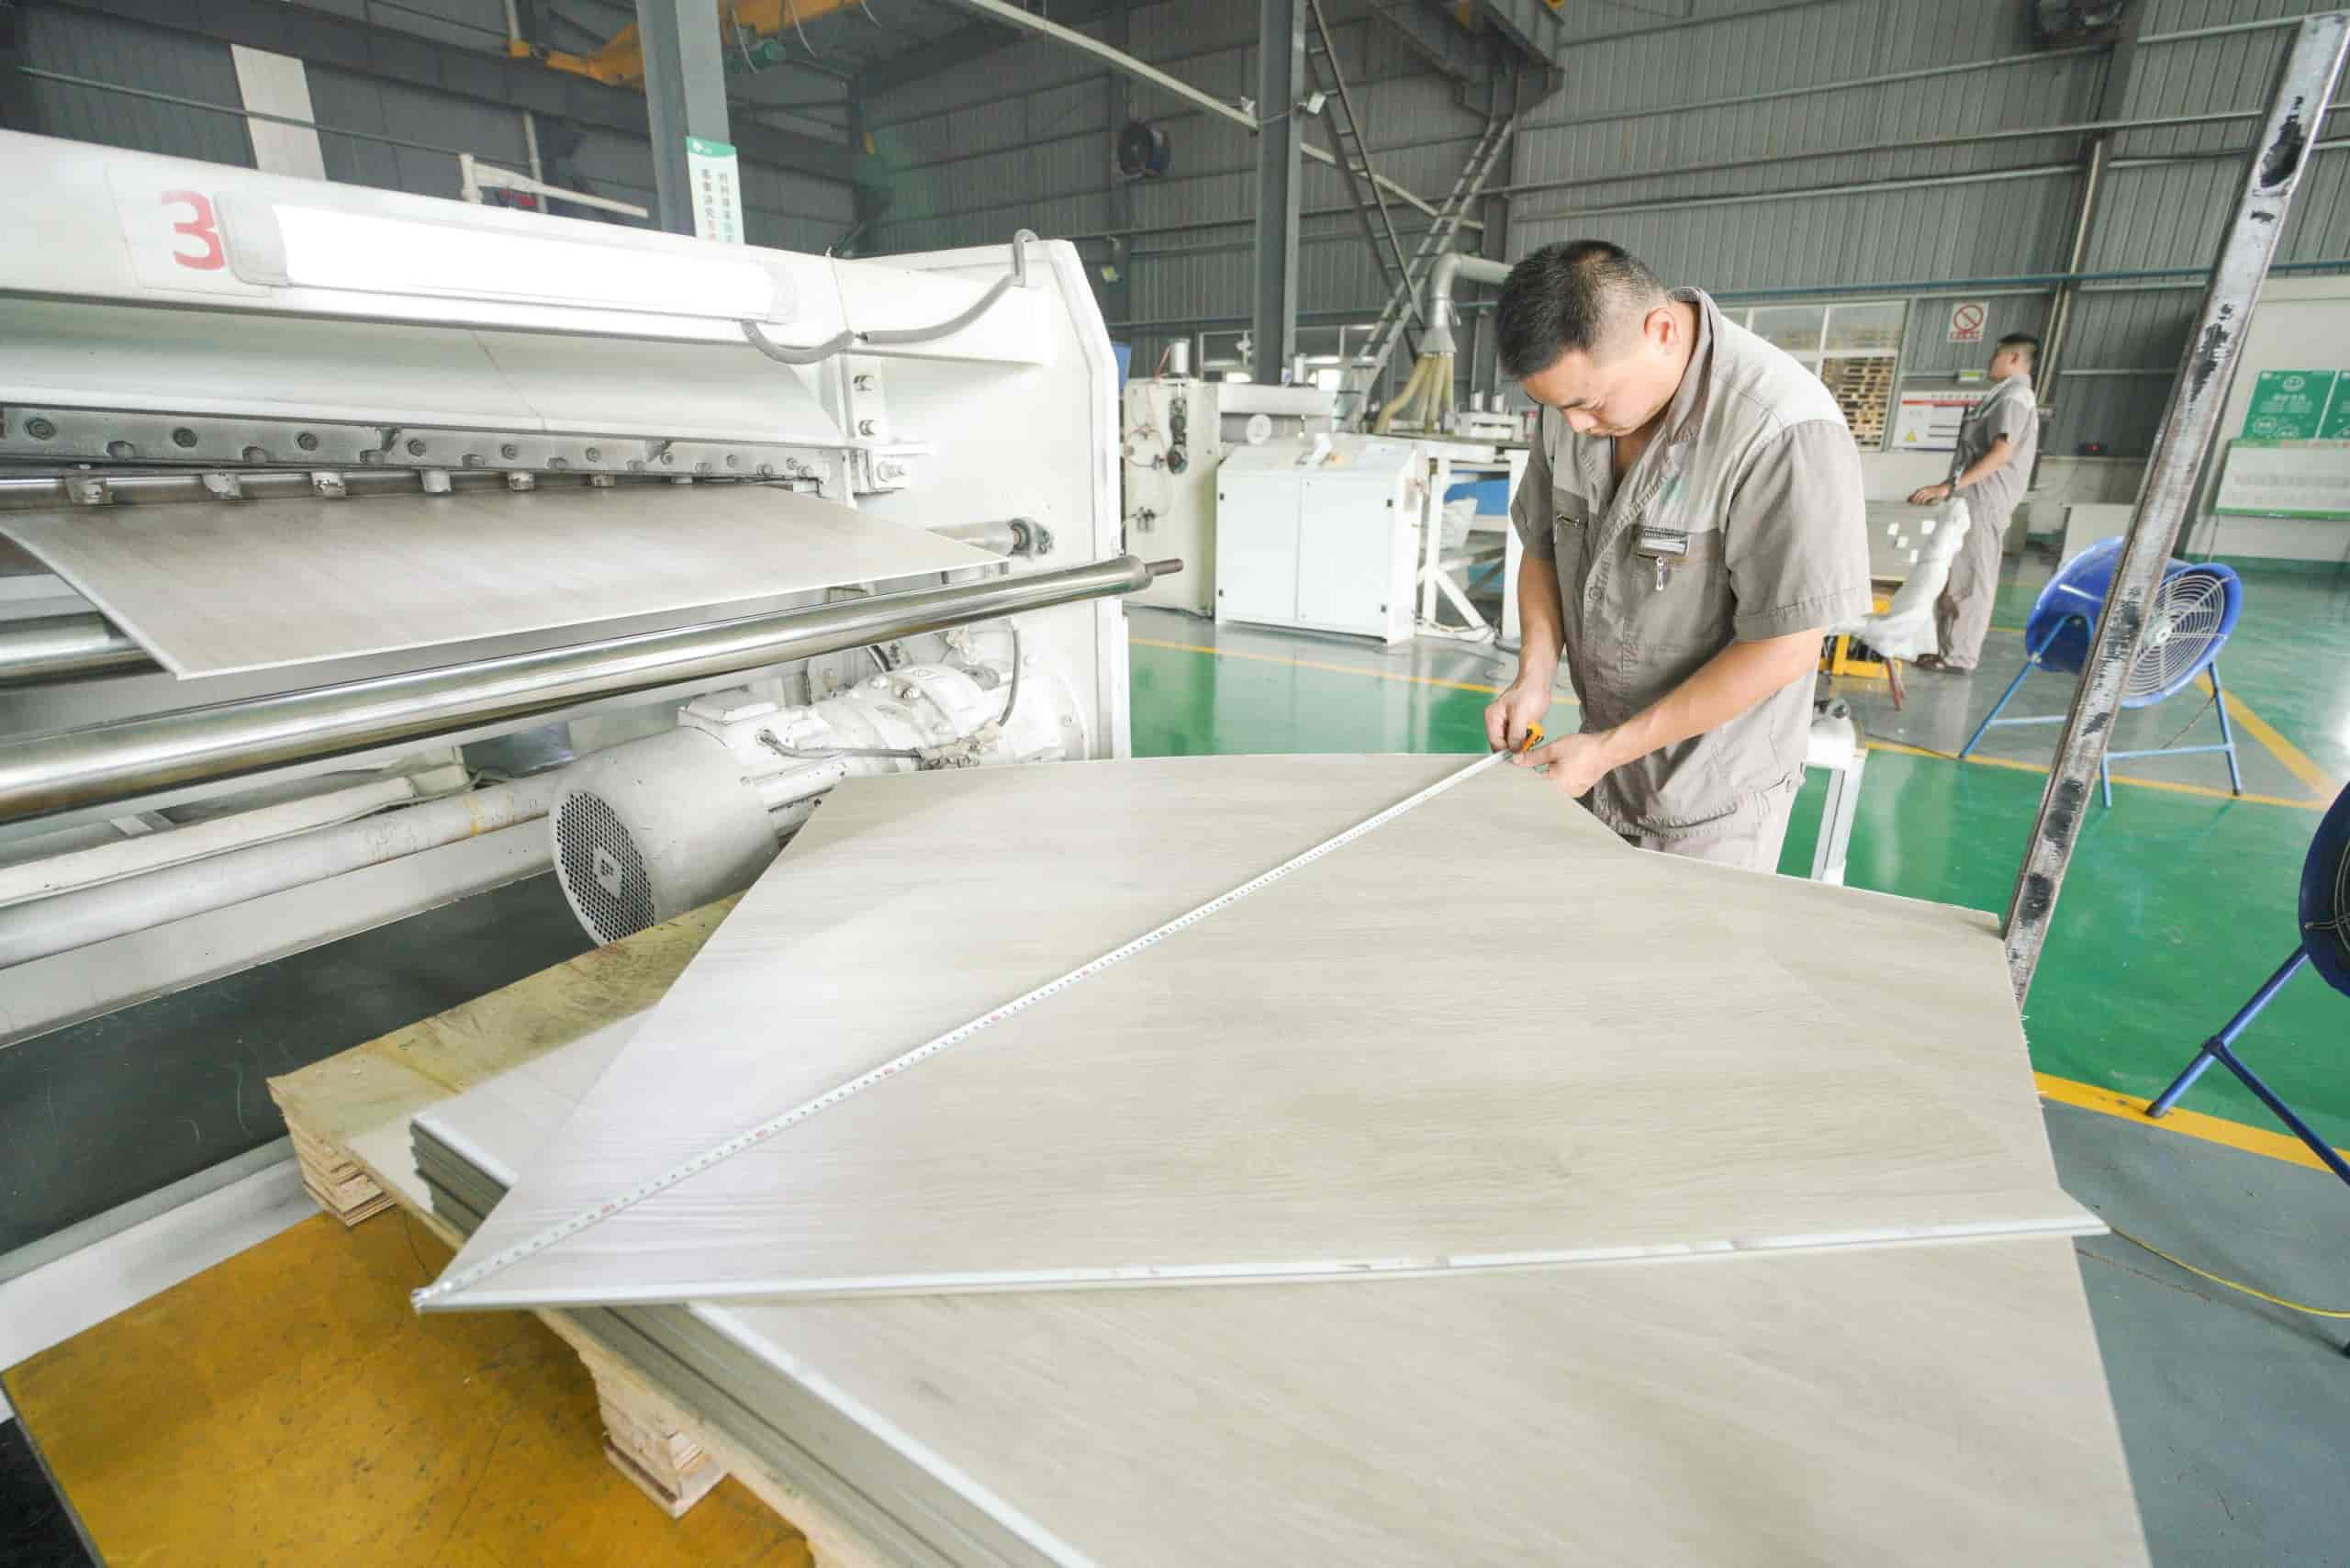
SPC flooring (Stone Plastic Composite Flooring) is a new type of environmentally friendly flooring material. Its wear-resistant, waterproof and fireproof properties make it increasingly popular in homes and commercial places. However, proper installation procedures are crucial to ensuring the beauty and longevity of your flooring. In this article, we will introduce you to the installation process of SPC flooring in detail and provide some professional tips and suggestions.
Step 1: Preparation
Before starting installation, make sure the floor is flat, dry, clean, and free of any sharp objects or debris. Check the floor for serious unevenness and repair if necessary. The dimensions of the room will also need to be measured to determine how much flooring material is needed.
Step 2: Lay the base layer
Before SPC flooring is installed, a base layer needs to be laid. You can choose to use polyurethane foam pads or EVA foam pads as base materials to increase floor comfort and sound insulation. Make sure the base layer completely covers the entire floor and secure it with tape.
Step 3: Install the first floor
Starting in a corner of the room, place the first piece of SPC flooring over the base layer. Make sure the long sides of the flooring are parallel to the wall and have some clearance (about 1/4 inch) from the wall to allow room for the flooring to expand. Use a rubber mallet to gently tap the flooring to make it fit snugly to the base.
Step 4: Install the remaining flooring
Continue installing the remaining floorboards, connecting the tongue and groove to the tongue of each floorboard. Make sure the seams between floors are tight and seamless, with no obvious gaps or differences in height. Use a rubber mallet or rubber mallet shims to help adjust the position of the floorboards and make sure each floorboard is securely fastened to the base.
Step 5: Cutting and Installing Floor Edges
When it is necessary to install to the edge of a room or around a fixed object, it may be necessary to cut the flooring. Use an SPC floor cutting tool or saw to make the cut, making sure the cut edge is flat and smooth. Install the cut flooring where needed and make sure it blends seamlessly with the surrounding flooring.
Step 6: Install floor borders and transition strips
Install floor borders and transition strips as needed. Floor borders can be used to secure the perimeter of the floor and provide better aesthetics. Transition strips can be used to connect the transition between SPC flooring and other types of flooring, such as to carpet or tile.
Step 7: Cleaning and Maintenance
After completing the installation, use cleaning tools to clean the floor surface. Keep your floors clean regularly and avoid using too much moisture to avoid damaging them. As needed, specialized floor care products can be used to maintain the shine and durability of your floors.
Proper SPC flooring installation procedures are critical to ensuring the quality and longevity of your flooring. By preparing the floor, laying the base, installing the floor, cutting and installing the floor edges, installing floor borders and transition strips, and cleaning and maintaining it, you can achieve a beautiful, durable SPC floor.
Welcome to contact yinuo to learn more about SPC flooring related issues. If you want to order products, you are also welcome to contact us!


